Showing posts with label 3rd Grade. Show all posts

Monday, February 22, 2016

3rd Grade Family Portraits


     We were inspired by the awesome portraits over at Apex Art found here.  For our lesson, we started with looking at the super realistic illustrations of Norman Rockwell.  We also looked at family portraits of some of our staff members and teachers here at Suffield Elementary.  We talked about the way photographers arrange people when they are photographing them.  We talked about balance and overlapping and we also had a few lessons in facial proportioning.  For color, we used multi-cultural markers, regular markers, and watercolor paints.


Tuesday, January 5, 2016

Relief Sculpture Plates with Under Glazes


     Here are some of our finished relief sculpture plates that I wrote about in-progress here.  We finished them by first painting a thin coat of white glaze on the bisqued plate, then painting under glazes for the color, and then I dipped them into a bucket of clear glaze before the final firing.  This is my spin on the Majolica technique.  The plates can be more functional (lots of kids made cookie plates for Santa) with that solid coat of clear glaze over the whole surface.  You could probably get a similar result with watered down Stroke & Coat glazes instead of using the under glazes.  I would still dip them into clear glaze before doing the final firing. The kids absolutely loved this project and I think it will probably become an annual project!


Thursday, November 5, 2015

In-Progress Relief Sculpture Plates with 3rd Grade


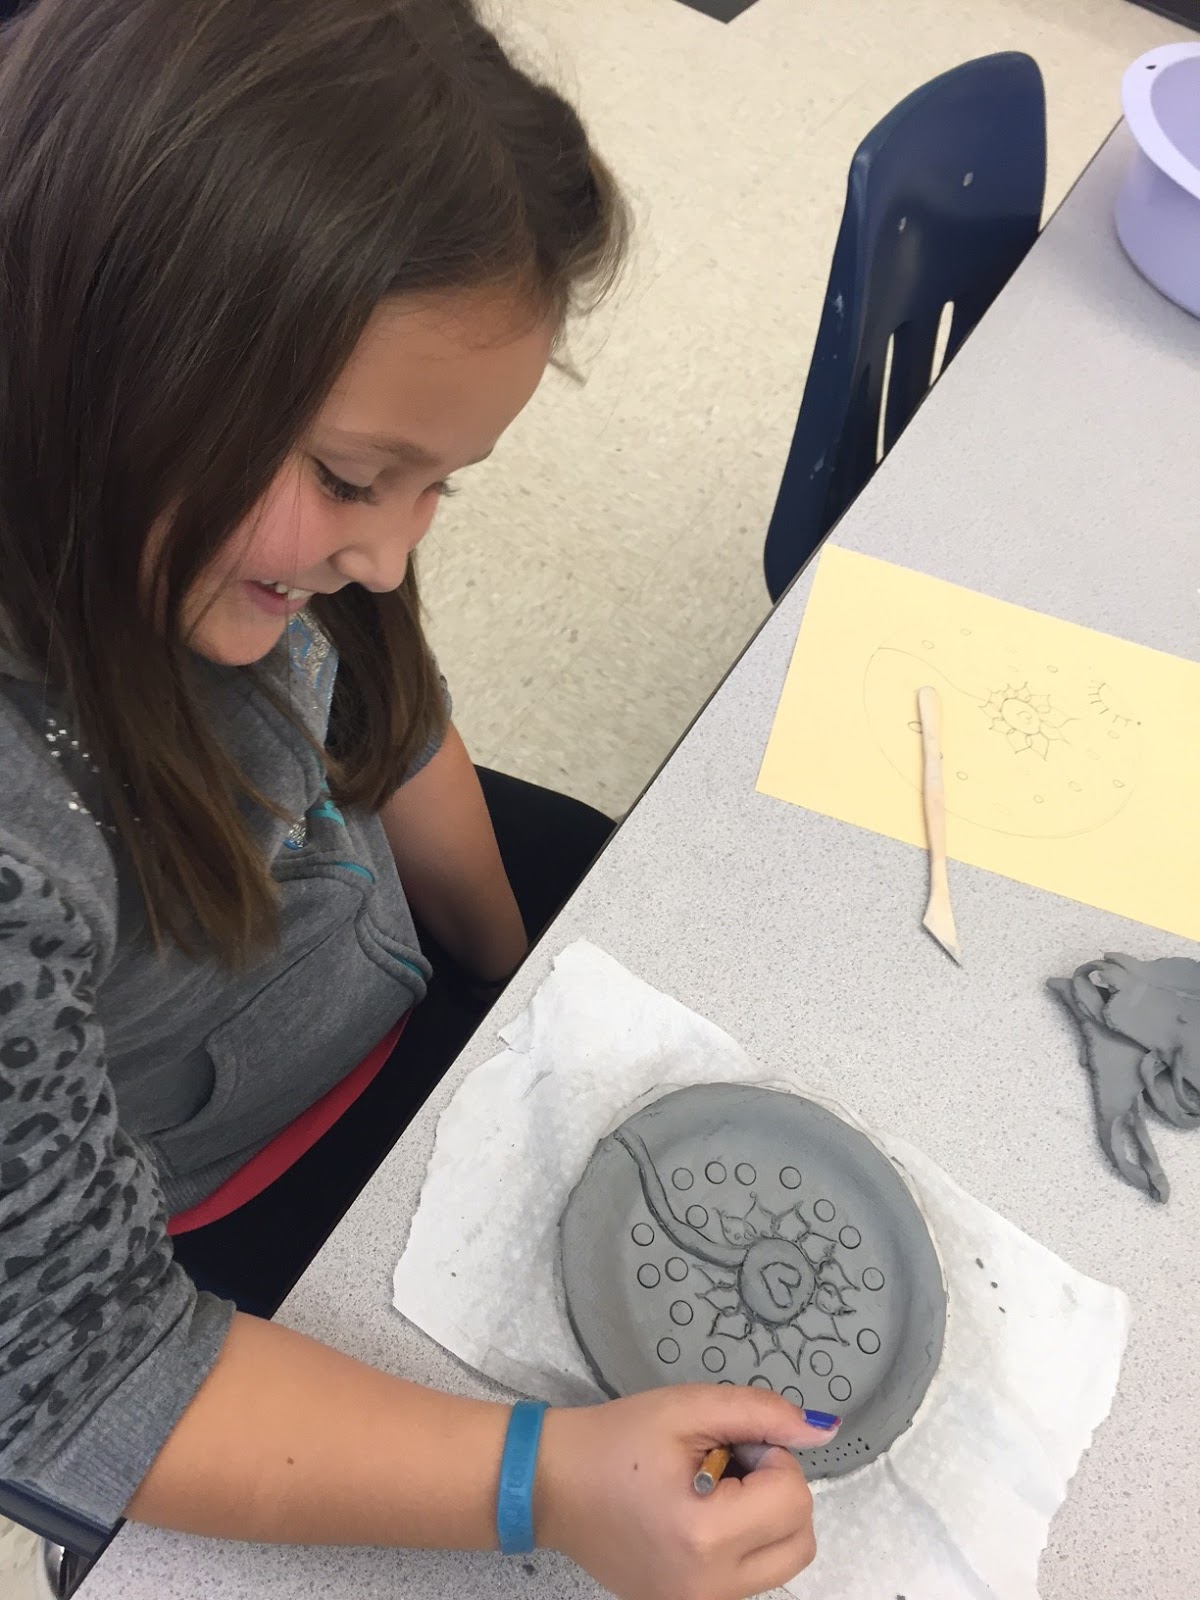
These plates are turning out so great that I just couldn't wait until they were completely finished to post about them!  I was inspired by the awesome ceramic plate projects over at Fun Art 4 Kids, and adapted it to be more open ended.  The students were challenged to create a plate design of their choosing (lots picked Christmas themes because I told them these would be completed and ready to go home before break) that had both high and low areas.  They created two different design ideas on manila paper and chose the strongest one to sculpt.

To make the plates, I rolled slabs of clay on our slab roller and then the kids used Dixie paper dessert plates to use as a pattern to cut around.  Then they molded the cut-out circle onto their paper plate with a paper towel in between the plate and the clay.  From there I showed them how to attach clay and how to press down into it without poking all the way through.  I'm so proud of their different ideas and how well they are coming out!  I will post an update when they're finished!


Thursday, May 8, 2014

Color Theory Names


     I've seen lots of versions of this project on various blogs and Pinterest, and here is my take!  The concept worked great for my third graders at Suffield because I focused on color theory for my SLO with them this year.  This was our culminating project where the students used the info we'd already learned about color families to create the artworks.
    They did the majority of the color work with watercolor crayons.  This worked great for mixing the secondaries.  They used metallic gel sticks (School Specialty's version of Slick Stix) around their tint/shade frames and they worked really well.


Monday, November 18, 2013

Mandalas Display!

I just posted about these Mandalas last week, but I just had to share them again now that I have them displayed.  The kids love them and so do I!  They have really livened up our art room at Brimfield!


Tuesday, November 12, 2013

3rd Grade Mandala Study


     I have been so so SO busy!  I feel like I have not posted in too long of a time!!

     Miss Ostrowski (student teacher) was here for my first two weeks at Brimfield.  She did some short lessons during that time, and this is one of them.  She looked at Mandalas with the third grade and talked about radial symmetry.  The kids colored plastic cups (some clear, some pink, some blue) with Sharpies, and then she punched holes in them and baked them briefly in her oven at home.  She baked them at 250 degrees for a few minutes.  The students tied them together with various colors of yard and added beads.